DNS-based ad blocking is one of the most effective ad-blocking methods available today.
While it doesn't work on every site, it does help block ads on quite a few.
The biggest benefit of blocking ads outside of user experience (no one likes ads, that's a given), is that by blocking ads from ever loading, pages load faster, and it reduces your data consumption.
That said, the goal of this article is to explain how to host your own DNS ad blocker, that works anytime, anywhere. Giving you full control over your internet experience.
Let's dive in:
Why use Pi-hole?
Pi-hole is a network-wide ad blocker. By functioning as a DNS sinkhole, Pi-hole prevents your devices from connecting to servers that deliver ads.
I selected Pi-hole specifically, though, because it's a well-known project that's been around for quite a while. It's well-tested and easy to use.
It's also intended to be self-hosted. You have full control over everything.
Pi-hole was originally designed to be used on a Raspberry Pi (as the name would suggest, which no one can get their hands on anymore), however, it also works on any Linux distribution, which is what we'll be using today. Debian 12 to be specific.
Why use WireGuard?
This is a modern VPN (Virtual Private Network) protocol known for its simplicity and high-speed performance.
It's easier to set up and manage compared to older protocols like OpenVPN or IPsec, and it's very efficient in terms of encryption, making your connection secure.
Normally Pi-hole is intended to be used like a Raspberry Pi sitting on a shelf somewhere, running on your own local network. But by using WireGuard, we'll be able to securely use Pi-hole anywhere.
Ideally, you want a dedicated host
While this could work on your home network, especially if you have a static IP address, I would suggest against it.
It's generally better to host something like this remotely. There are quite a few benefits to it, for one, redundancy. It'll have better uptime in a data center than in your closet. It'll also likely give you better connectivity while using your DNS ad blocker while mobile.
Residential connections can be spotty, with varying qualities of bandwidth blends.
xTom is a hosting provider that's over a decade old. Of course, we're biased, but we'd suggest us as a great option for hosting your own DNS ad blocker.
We provide all kinds of services, anywhere from dedicated servers to colocation and beyond, but in this case, the most cost-effective solution would be a VPS (Virtual Private Server).
You could get a VPS in many locations, worldwide, from our VPS brand here starting at as low as €6.95 monthly (the smallest plan is enough to run a DNS ad blocker).
Anyway, you'll ideally want to find a dedicated host for your DNS ad blocker. It'll be a more reliable and consistent solution. But a closet can work too.
Now it's time to start setting up Pi-hole:
Installing Pi-hole
You can install Pi-hole easily on a Raspberry Pi or any Linux-based system.
The quickest method is using a curl command to execute the Pi-hole install script (curl is available on all Linux distributions):
curl -sSL https://install.pi-hole.net | bash

The script guides you through the installation, and it's generally safe to go with the default settings. Just keep clicking yes.
Eventually, during the setup, it'll ask you who you want to use as your upstream DNS provider -- it's entirely up to you here (there are several choices, all major DNS providers), but I often use DNS.SB. Though, opinions on privacy vary greatly, so it's always best to do your own research on who you're comfortable with.
Configuring Pi-hole
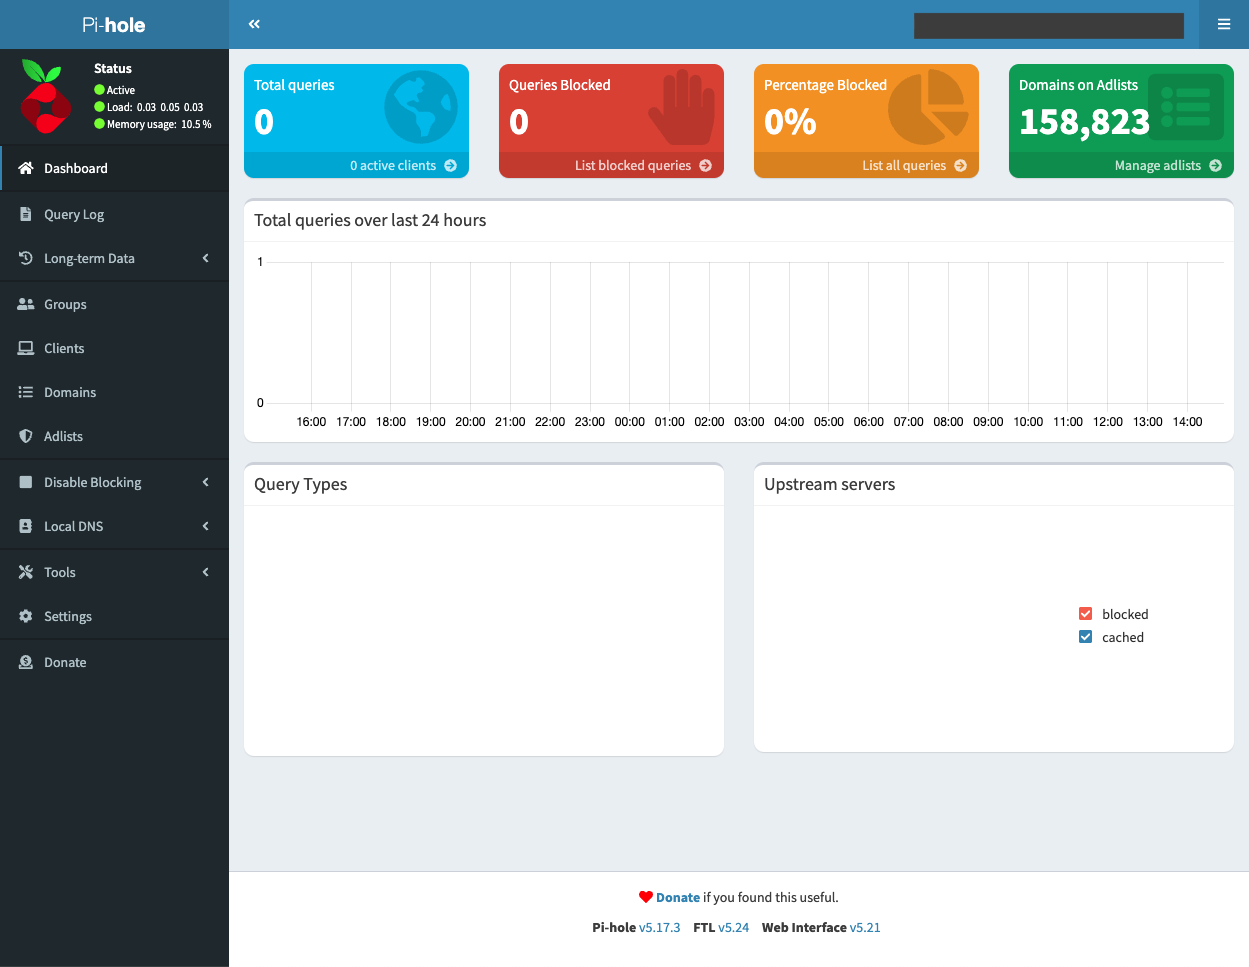
Post-installation you'll be presented with an admin password, using that, you can manage Pi-hole through its web interface at http://staticIP/admin.
Here, you can customize your Pi-hole settings to your liking:
The default list, StevenBlack's Unified Hosts List, isn't bad at all, but if you Google around there are plenty of different block lists available for your choosing.
We also need to do one thing more thing, which is to navigate to /admin/settings.php?tab=dns and change our Pi-hole settings under "Interface settings" to the first option on the bottom (this is necessary for remote connections):

Next, we need to get WireGuard installed and configured to connect to our Pi-hole server securely:
Installing WireGuard
On Debian/Ubuntu, to install WireGuard, you just need to run the following command:
apt-get install wireguard wireguard-tools
(Depending on your distribution package, you may already have WireGuard installed. Also, if you use a different distribution than Debian/Ubuntu, just Google how to install WireGuard for your specific distribution and follow the rest of this article accordingly.)
After that, to start the configuration process, run the following command:
cd /etc/wireguard
Then run:
wg genkey | tee server.key | wg pubkey > server.pub
Configuring WireGuard
Now, we'll create our WireGuard configuration file:
nano /etc/wireguard/wg0.conf
Then paste the following into it:
[Interface]
Address = 10.100.0.1/24, fd08:4711::1/64
ListenPort = 47111
Next run:
echo "PrivateKey = $(cat server.key)" >> /etc/wireguard/wg0.conf
Finally, start the server:
systemctl enable [email protected]
systemctl daemon-reload
systemctl start wg-quick@wg0
You should be able to execute the wg command and see a result returned that shows WireGuard is indeed running.
Adding your WireGuard client
The last step in this process is to set up your WireGuard client so that you can connect to your new ad-blocking DNS server.
You should still be in the /etc/wireguard directory, then you'll execute the following command (replace "client_name" as desired):
name="client_name"
wg genkey | tee "${name}.key" | wg pubkey > "${name}.pub"
Then to add an additional layer of security, we'll generate a pre-shared key as well:
wg genpsk > "${name}.psk"
Next, we need to add our new client information to our WireGuard configuration file:
echo "[Peer]" >> /etc/wireguard/wg0.conf
echo "PublicKey = $(cat "${name}.pub")" >> /etc/wireguard/wg0.conf
echo "PresharedKey = $(cat "${name}.psk")" >> /etc/wireguard/wg0.conf
echo "AllowedIPs = 10.100.0.2/32, fd08:4711::2/128" >> /etc/wireguard/wg0.conf
Then restart WireGuard:
systemctl restart wg-quick@wg0
Now, review your wg0.conf file:
nano wg0.conf
It should look like this:
[Interface]
Address = 10.100.0.1/24, fd08:4711::1/64
ListenPort = 47111
PrivateKey = Key

[Peer]
PublicKey = Key
PresharedKey = Key
AllowedIPs = 10.100.0.2/32, fd08:4711::2/128
If you run wg again, you'll now see your new client.
We still need to create our configuration file for the WireGuard client, to connect to our new ad blocker, though.
Go ahead and run the following commands:
echo "[Interface]" > "${name}.conf"
echo "Address = 10.100.0.2/32, fd08:4711::2/128" >> "${name}.conf" # May need editing
echo "DNS = 10.100.0.1" >> "${name}.conf" # Your Pi-hole's static IP (do not leave 10.100.0.1, it won't work)
Add your private key:
echo "PrivateKey = $(cat "${name}.key")" >> "${name}.conf"
Then edit your client configuration file to add your static IP:
nano client_name.conf (or whatever you selected your name as, dot conf)
Filling in the following information:
[Peer]
AllowedIPs = 10.100.0.0/24, fd08::/64
Endpoint = Your static IP:47111
PersistentKeepalive = 25
Finally, we need to add our public key as well as our pre-shared key to our client configuration file:
echo "PublicKey = $(cat server.pub)" >> "${name}.conf" echo "PresharedKey = $(cat "${name}.psk")" >> "${name}.conf"
Your client configuration file should look like this:
[Interface]
Address = 10.100.0.2/32, fd08:4711::2/128
DNS = Your static IP
PrivateKey = Key

[Peer]
AllowedIPs = 10.100.0.0/24, fd08::/64
Endpoint = Your static IP:47111
PersistentKeepalive = 25
PresharedKey = Key
PublicKey = Key
PresharedKey = Key
Now, download the WireGuard client on whatever device you want to block ads on, and you can either import the above configuration file to create a new WireGuard tunnel, or you can add a new empty WireGuard tunnel, and then copy and paste the above configuration file inside.
Once connected through the WireGuard application, you'll see many of the annoying ads you were previously seeing are now blocked!
Here's an example on CNN, before:

It practically infinitely displays these ads at the bottom and makes it nearly impossible to reach the CNN footer.
Now, after enabling Pi-hole through WireGuard, I can see the bottom of the page right where the blog post ends:
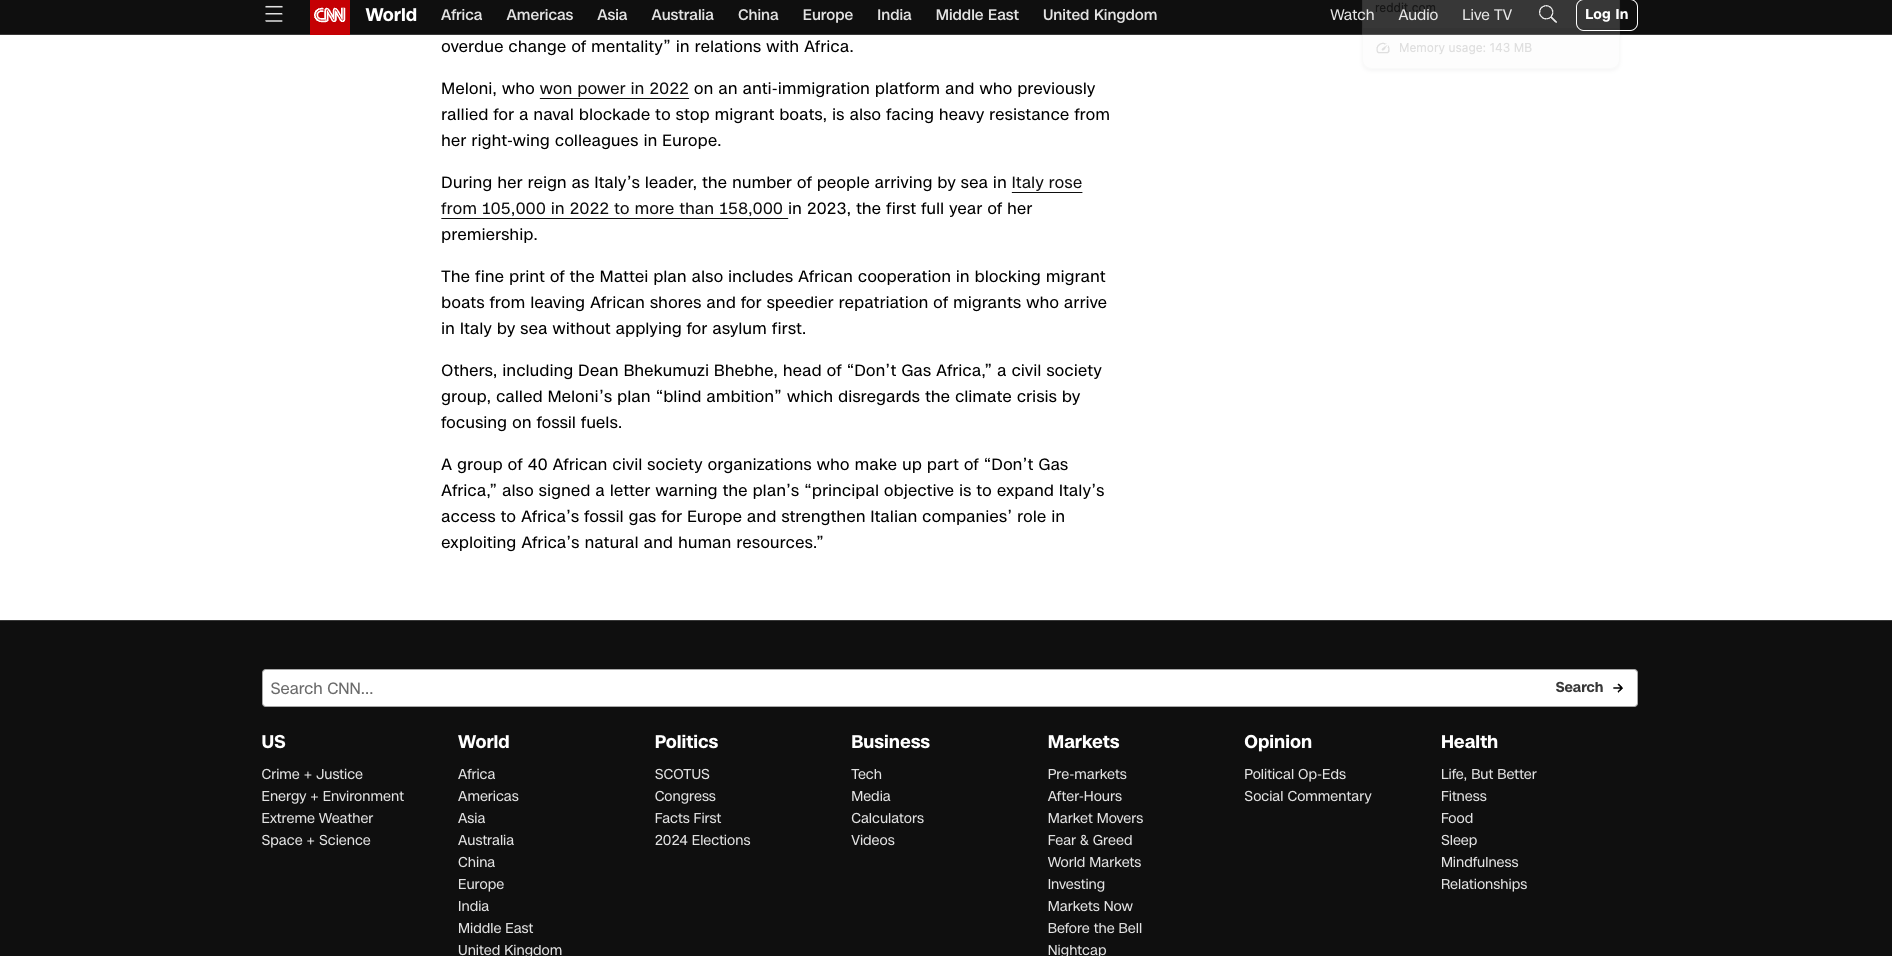
Much better...
Final thoughts
Combining Pi-hole with WireGuard is an efficient way to enjoy an ad-free and more secure internet experience, whether at home or on the go.
The setup might seem a bit technical, but it's a one-time effort that pays off in the long run.
For detailed step-by-step instructions and more in-depth explanations, you can refer to the resources at Pi-hole's documentation here.
And again, xTom would love to be your digital infrastructure provider. Our VPS line makes for a great budget entry line that serves purposes like hosting a VPN or a Pi-hole server well. Please do consider giving us a try.
Thanks for reading!