Apache Guacamole is a free and open-source clientless remote desktop gateway that supports protocols like VNC, RDP, and SSH.
Unlike traditional remote desktop tools that require software installations on client devices, such as TeamViewer (gross), Apache Guacamole leverages the power of HTML5 to provide a web-based interface for accessing remote desktops.
Meaning, you'll always be able to conveniently and securely access your computers remotely via a web browser. And you can add as many computers as you want (it isn't just limited to one).
However, Apache Guacamole can be a bit confusing to get all set up and configured. Our goal in this article is to change that for you. Let's dive in.
Step 1: Find a host
The first step to getting Apache Guacamole setup is finding a server to host it on. It works on just about any Linux distribution, but this tutorial will be tailored to Debian 12 as that's my favorite.
Some people might choose to self-host Apache Guacamole on a spare computer they have hanging around, or a Raspberry Pi on a shelf. Others might want it located in a data center at a dedicated hosting provider for guaranteed reliability.
If you're the kind that wants reliability on a budget, our smallest VPS over at our VPS brand should be able to suffice for Apache Guacamole. It's less than the price of a cup of coffee and nearly guarantees you smooth connectivity just about wherever you go.
Step 2: Create a new user
You can skip this step if your installation template includes creating a new user with sudo privileges. Otherwise, the first step is to log in as root and create a new user.
With Debian (which also works on Ubuntu), we can use the following command to create a new user:
adduser guac
It'll ask you to fill out some information, such as a password. Then you'll need to run:
usermod -aG sudo guac
That'll give your new user sudo privileges. Now we need to switch over to the new user:
su - guac
Step 3: Download Guacamole-Install
Installing this hand-by-hand is a bit of a pain, so we have open-source scripts to help make this process a bit faster, namely: Guacamole-Install by Itiligent.
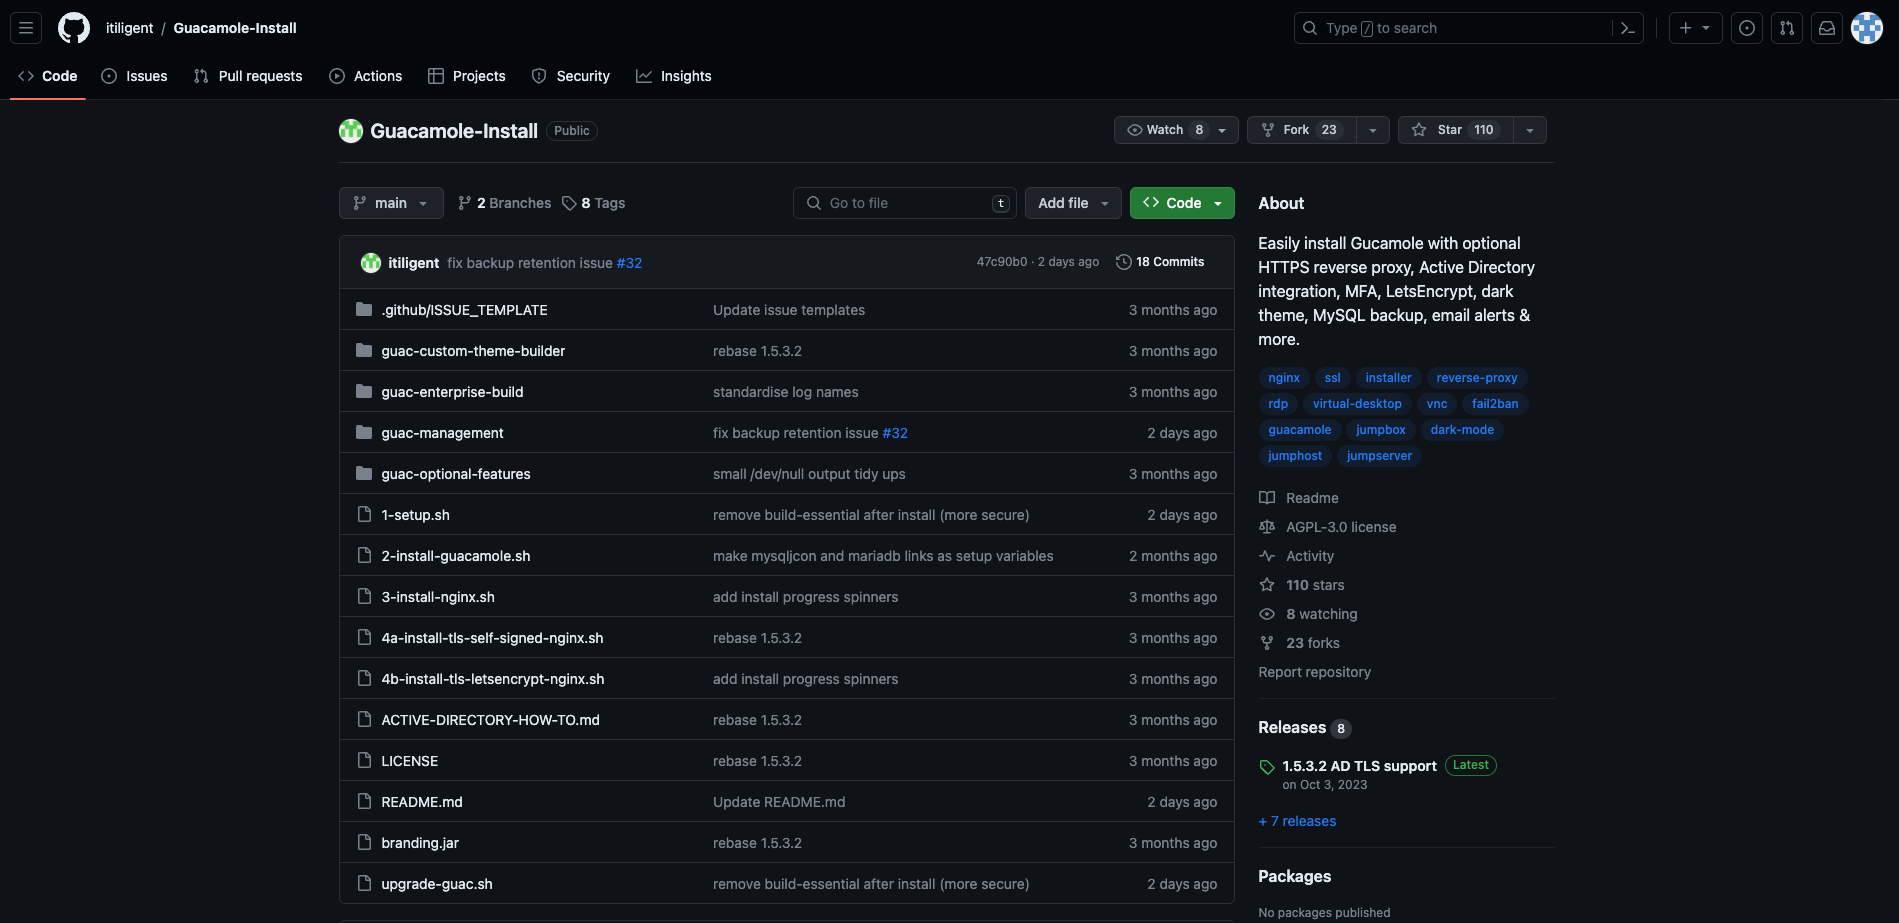
It's trusted (benefits of being open source) and does almost everything for us. To download it, you'll just need to run the following command:
wget https://raw.githubusercontent.com/itiligent/Guacamole-Install/main/1-setup.sh && chmod +x 1-setup.sh && ./1-setup.sh
It'll ask you to answer several installation questions. These are up to you, and you can later change them, but the following answers are the recommended installation options to keep things simple but secure:
Update Linux system HOSTNAME [Enter to keep: yourhostname.com]

              Enter new HOSTNAME: yourhostname.com

Update Linux LOCAL DNS DOMAIN [Enter to keep: local]

              Enter FULL LOCAL DOMAIN NAME:

MySQL setup options:

SQL: Install MySQL locally? (For a REMOTE MySQL server select 'n') [Y/n] [default y]: y

SQL: Apply MySQL secure installation settings to LOCAL db? [Y/n] [default y]: y

SQL: Enter localhost's MySQL ROOT password: yourpass

SQL: Confirm localhost's MySQL ROOT password: yourpass

SQL: Enter localhost's MySQL guacamole_user password: yourpass

SQL: Confirm localhost's MySQL guacamole_user password: yourpass

SQL: Enter email address for SQL backup messages [Enter to skip]: [email protected]

Guacamole authentication extension options:

AUTH: Install TOTP? (choose 'n' if you want Duo) [y/N]? [default n]: n

AUTH: Install Duo? [y/N] [default n]: y

AUTH: Install LDAP? [y/N] [default n]: n

Guacamole console optional extras:

EXTRAS: Install Quick Connect feature? [y/N] [default n]: n

EXTRAS: Install History Recorded Storage feature [y/N] [default n]: n

Reverse Proxy & front end options:

FRONT END: Protect Guacamole behind Nginx reverse proxy [y/N]? [default n]: y

FRONT END: Enter proxy LOCAL DNS name? [Enter to use yourdomain.com.local]:

FRONT END: Add self signed TLS support to Nginx? [y/N]? (choose 'n' for Let's Encrypt)[default n]: y

FRONT END: Enter number of days till TLS certificates will expire [Enter for 3650]:
The above installation settings will create a self-signed TLS certificate and put NGINX in front of our Apache Guacamole instance, as well as using Cisco-owned Duo for authentication.
You can change this to use a Let's Encrypt certificate if you'd like, or the authentication method to one of the other three.
But there's nothing inherently insecure about a self-generated certificate if you know it's trusted.
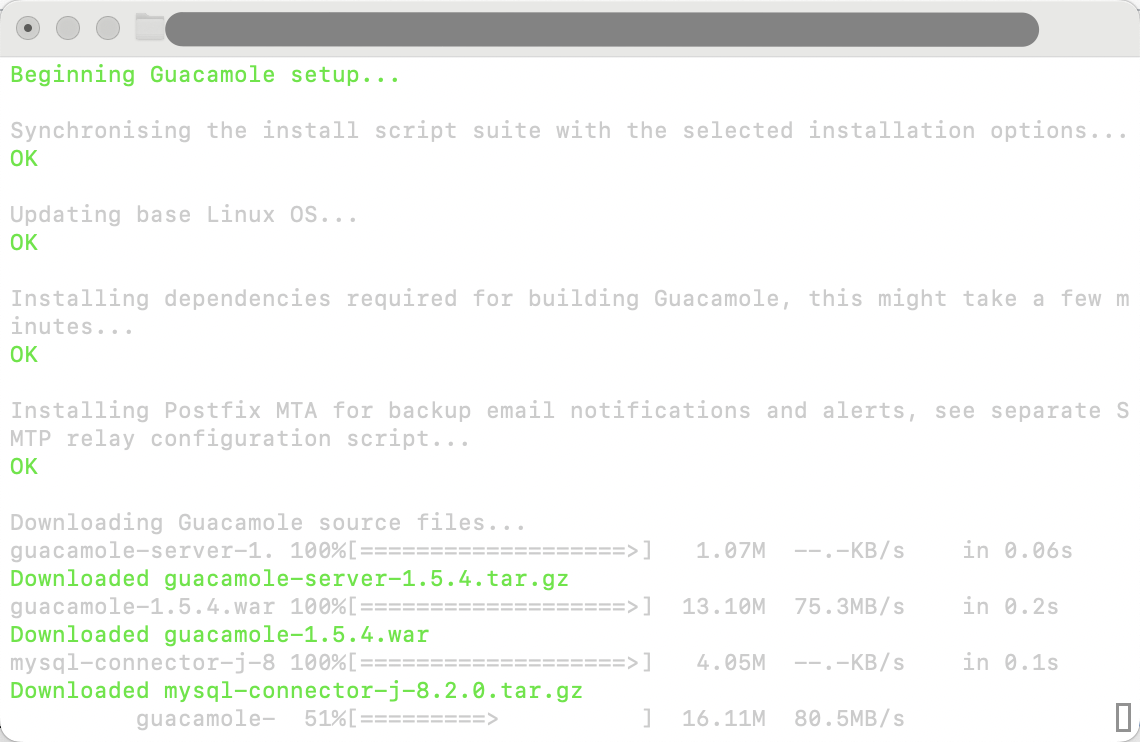
At the end, the installer will say:
+-------------------------------------------------------------------------------------------------------------
+ WINDOWS CLIENT SELF SIGNED TLS BROWSER CONFIG - SAVE THIS BEFORE CONTINUING!
+
+ 1. In /home/guac/guac-setup/tls-certs-24.02.23 is a Windows version of the new certificate yourdomain.com.pfx
+ 2. Import this PFX file into your Windows client with the below PowerShell commands (as Administrator):
$mypwd = ConvertTo-SecureString -String 1234 -Force -AsPlainText
Import-pfxCertificate -FilePath yourdomain.com.pfx -Password $mypwd -CertStoreLocation "Cert:\LocalMachine\Root"
+-------------------------------------------------------------------------------------------------------------
+ LINUX CLIENT SELF SIGNED TLS BROWSER CONFIG - SAVE THIS BEFORE CONTINUING!
+
+ 1. In /home/guac/guac-setup/tls-certs-24.02.23 is a new Linux native OpenSSL certificate yourdomain.com.crt
+ 2. Import the CRT file into your Linux client certificate store with the below command:
(If certutil is not installed, run apt-get install libnss3-tools)
mkdir -p $HOME/.pki/nssdb && certutil -d $HOME/.pki/nssdb -N
certutil -d sql:/home/guac/.pki/nssdb -A -t CT,C,c -n yourdomain.com -i yourdomain.com.crt
+-------------------------------------------------------------------------------------------------------------
The above TLS browser config instructions are saved in /home/guac/guac-setup/guacamole_install.log

Self signed certificate configured for Nginx

https://yourdomain.com  - login user/pass: guacadmin/guacadmin

***Be sure to change the password***
That's how you know it's successful. We have one step left before you can log in, but you'll log in using the above default information (change it on the first login) at your specified hostname.
You can also download your new self-generated certificate to avoid the "insecure" errors modern browsers display.
Step 4: Configure Duo
Duo is free for most uses. In this case, it's entirely free.
You can create your account here and then download the authentication app on your phone, it's quite easy to set up. The added benefit of using Duo over TOTP for our Apache Guacamole instance is that you can use push notification authentication.
Once your Duo account is created, click "applications", then "protect an application" and finally type in "web SDK":
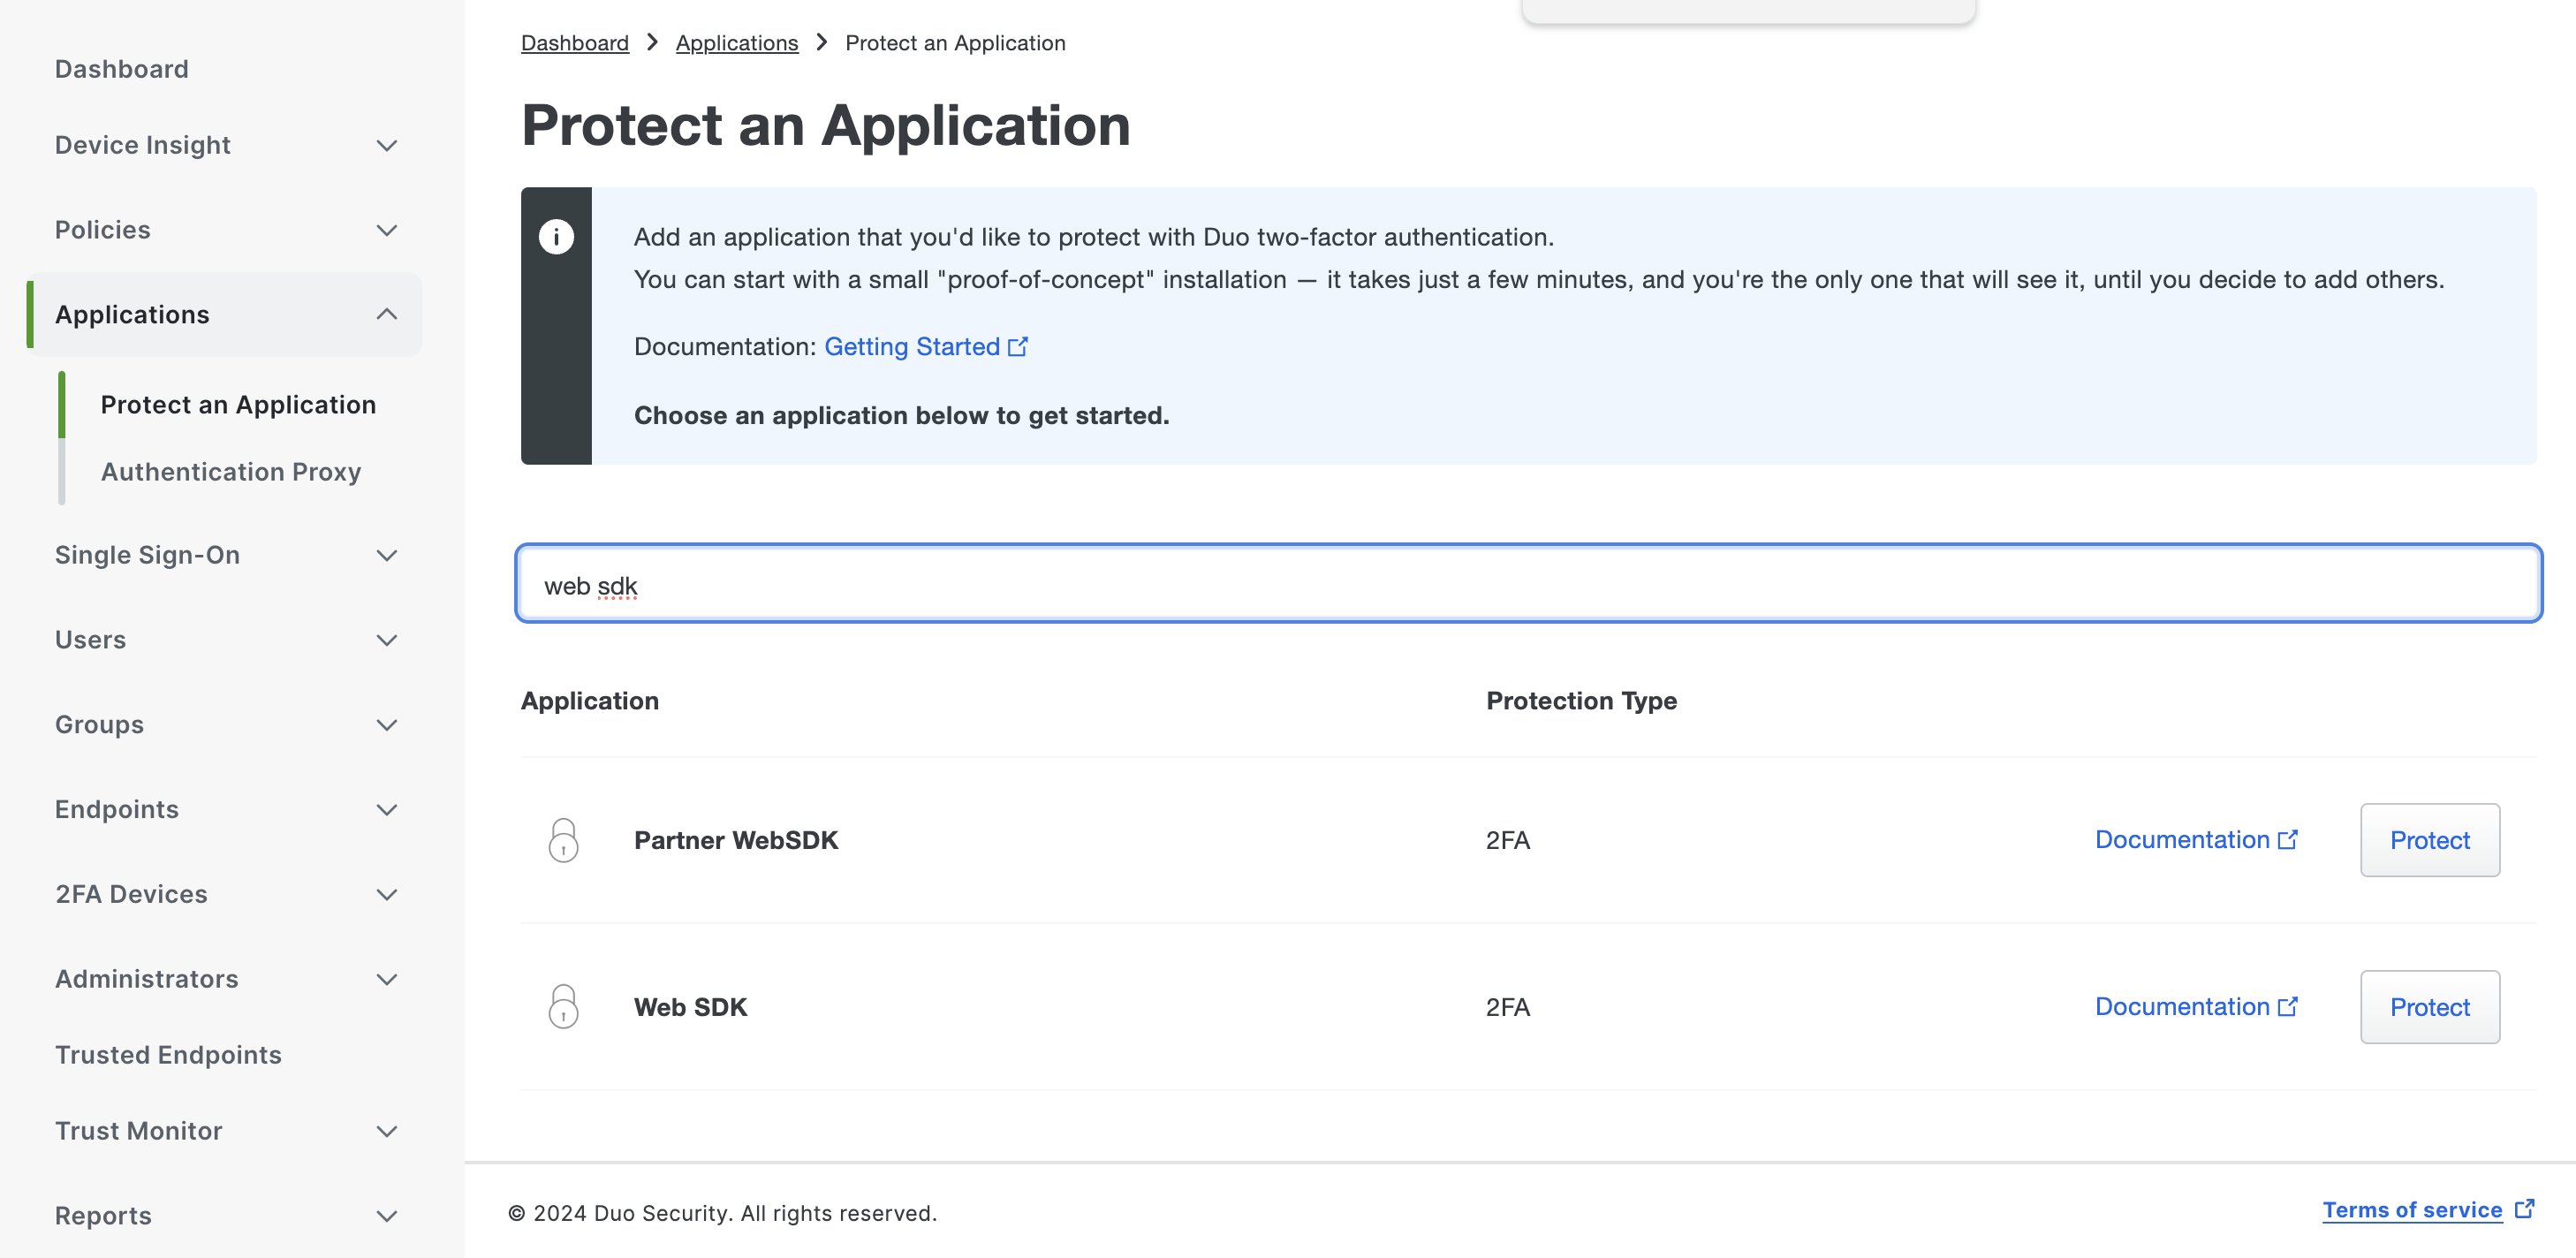
Next, click "protect" to the right of web SDK, and you'll see some configuration information returned. Pause here really quick and head back over to your server. Run the following command:
pwgen 40 1
You'll get a result returned such as iexahKeenei7aeShaeceiJohsh2iepohfieFae7l, copy that, and then run the following command:
sudo nano /etc/guacamole/guacamole.properties
Your configuration file will look like this:
mysql-hostname: localhost
mysql-port: 3306
mysql-database: guacamole_db
mysql-username: guacamole_user
mysql-password: 1z
#duo-api-hostname:
#duo-integration-key:
#duo-secret-key:
#duo-application-key:
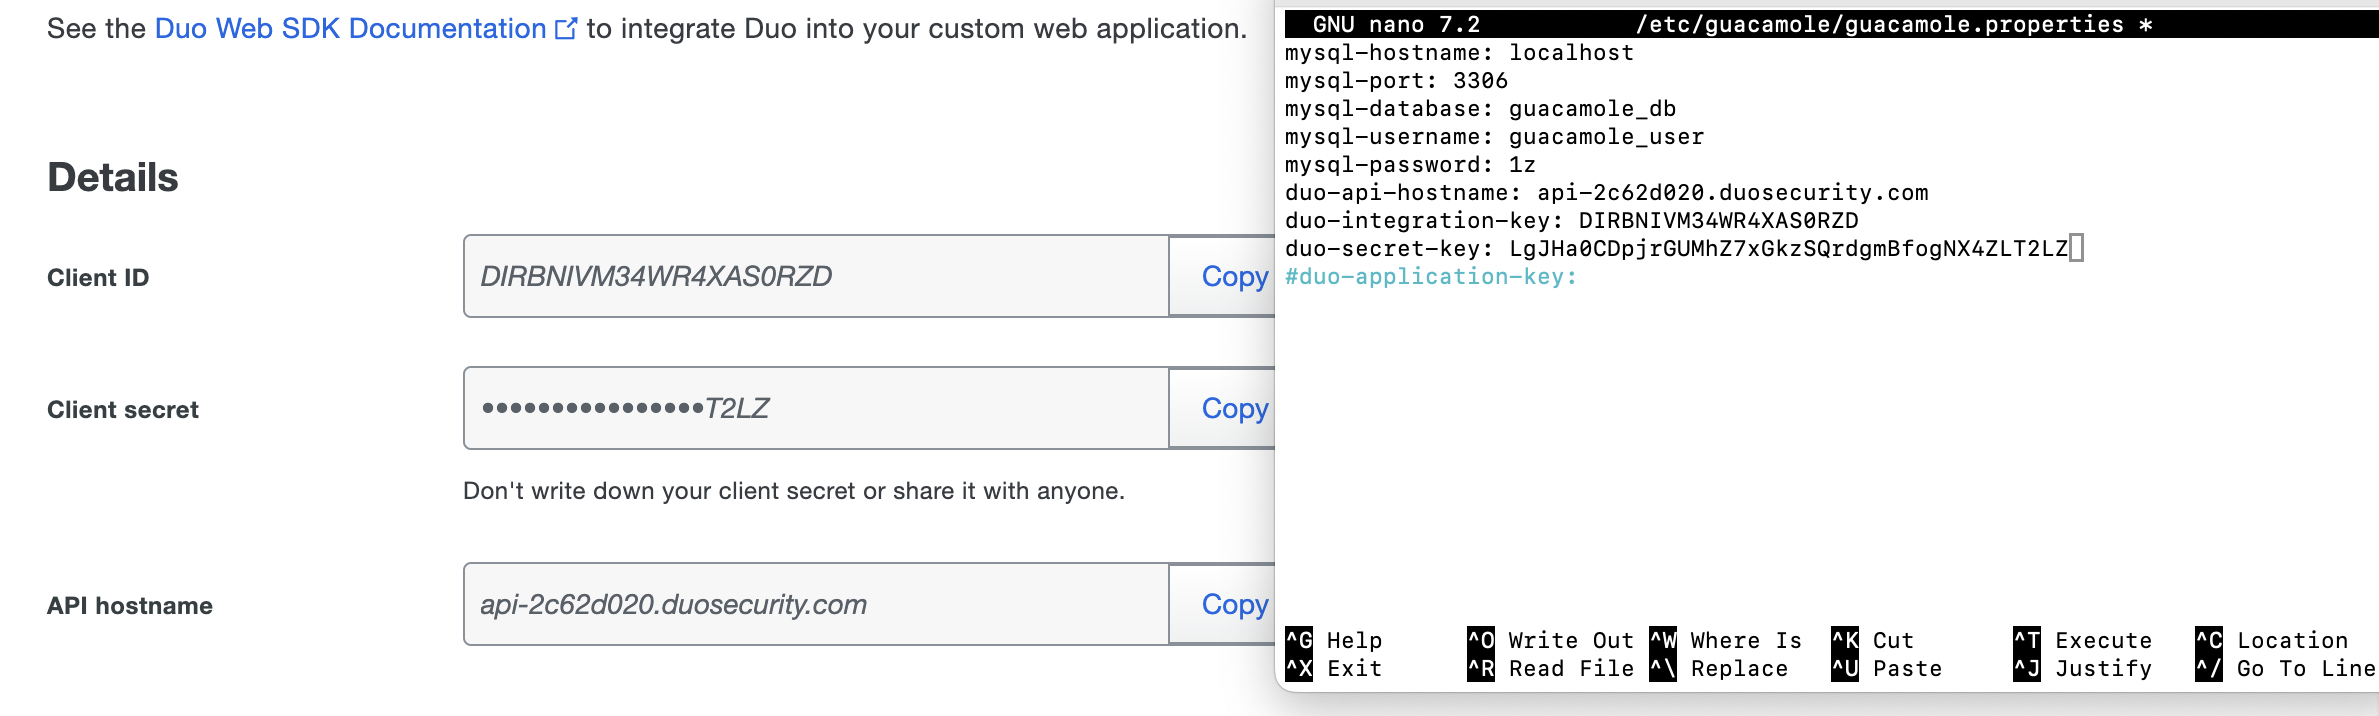
Uncomment the bottom four lines, and paste the random string we just generated into the duo-application-key. You'll get the other three things from our Duo web SDK we created earlier:
Save and close the configuration file, and then run:
sudo reboot
Wait a minute or so and head back over to yourhostname.com (you could also put this on a subdomain, etc.), you should see this:
Login using guacadmin and guacadmin. The first time you log in, you'll need to set up Duo:
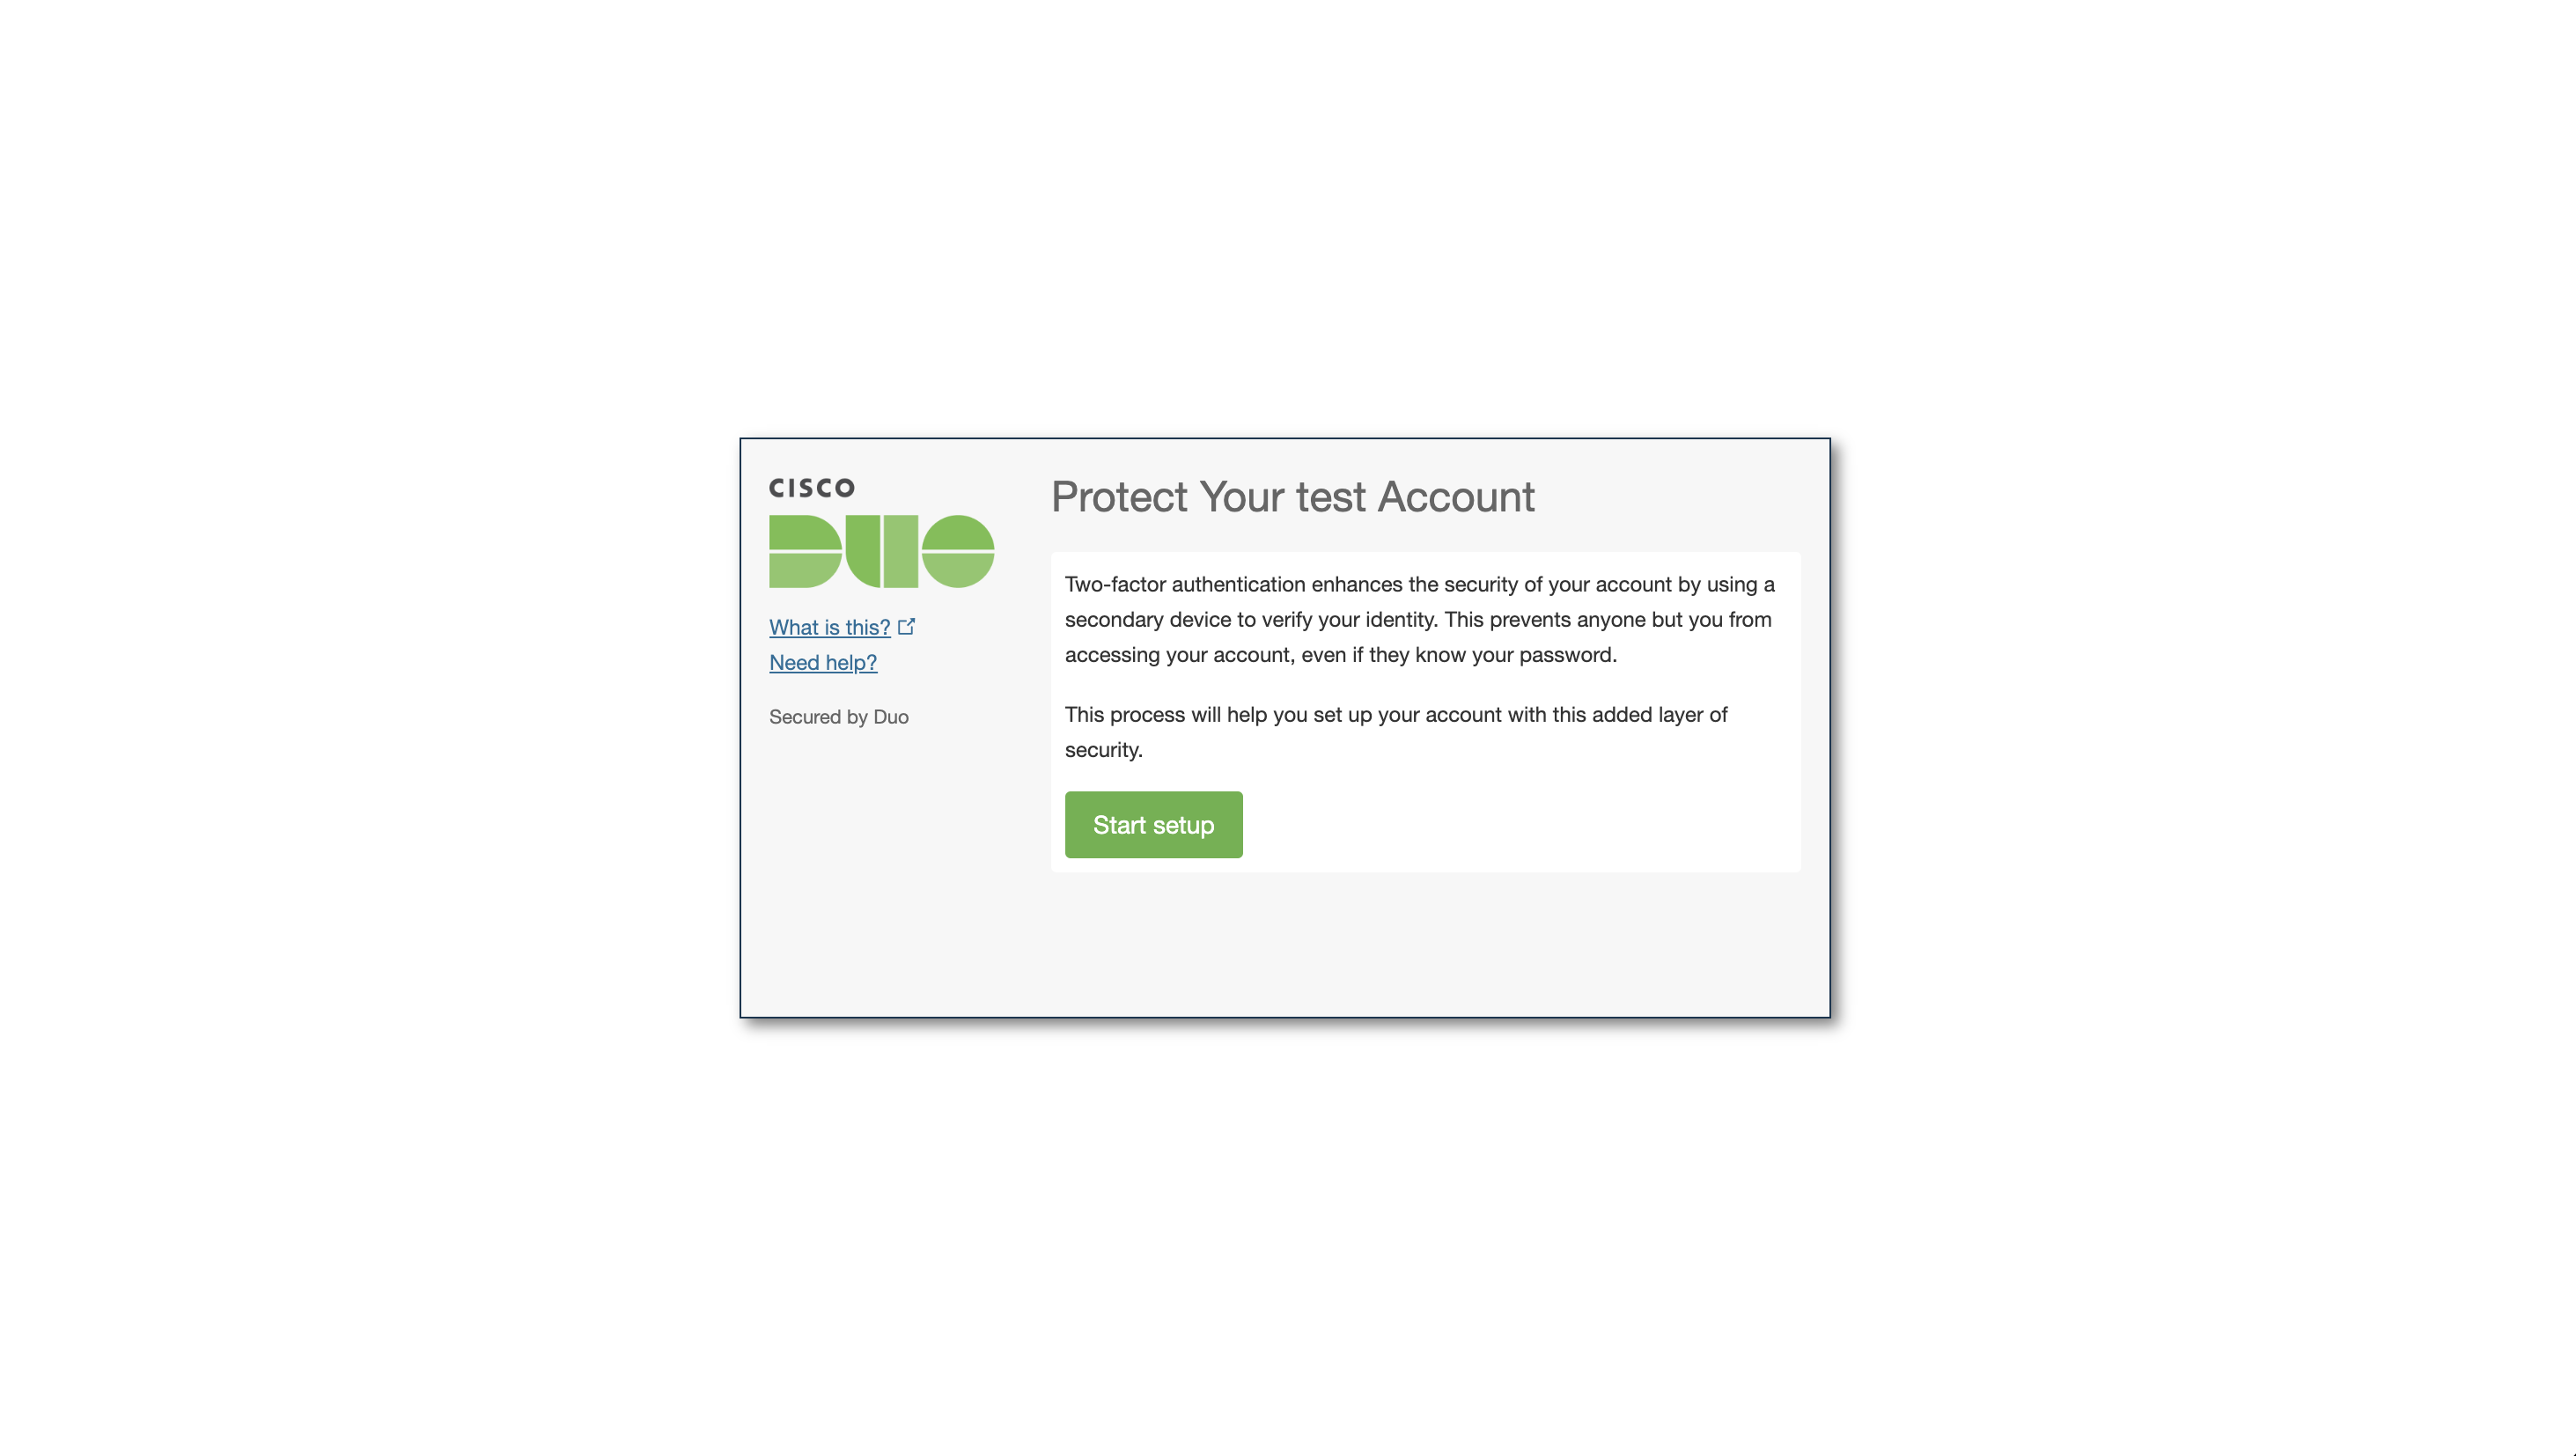
After that, you're in!
You'll just need to add your desired remote desktops that you want to connect to via settings in the top right. Remember, it supports RDP, VNC, and SSH as connection protocols, so you have quite a few options!
Conclusion
You've now successfully set up Apache Guacamole. You can remotely access just about any computer you want directly through your browser.
Not bad. Apache Guacamole can certainly help simplify both your personal and professional life.
As always, if you're in need of digital infrastructure, anywhere from a VPS for Apache Guacamole to a dedicated server, colocation, or beyond, xTom is here to help. Don't hesitate to reach out here with any questions.
Thanks for reading!